How to Export Illustrator Artwork for Pixel Art
Export cleaner source art first so your later conversion stays sharp.
Export Illustrator artwork with cleaner edges before converting it to pixel art. Learn which PNG export choices help preserve sharp shapes and reduce blur.
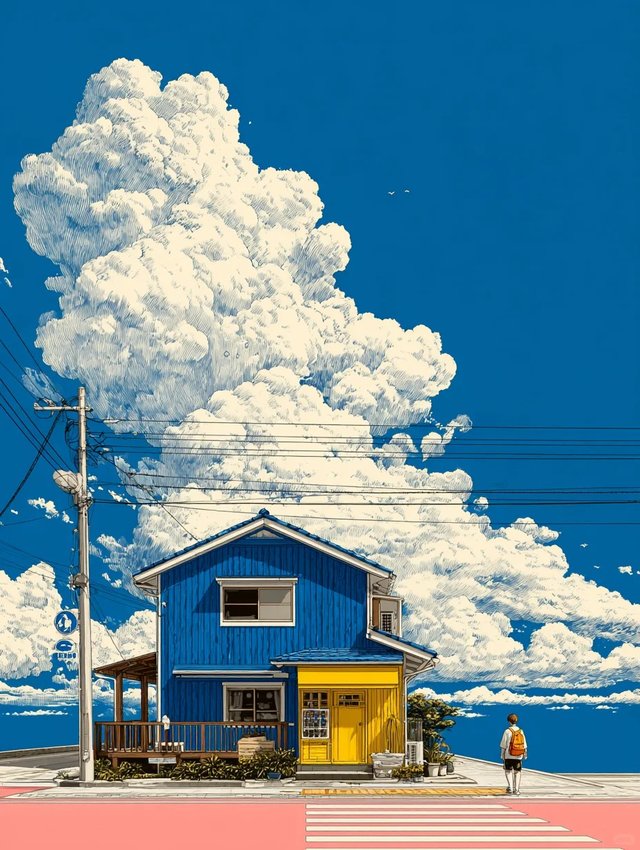
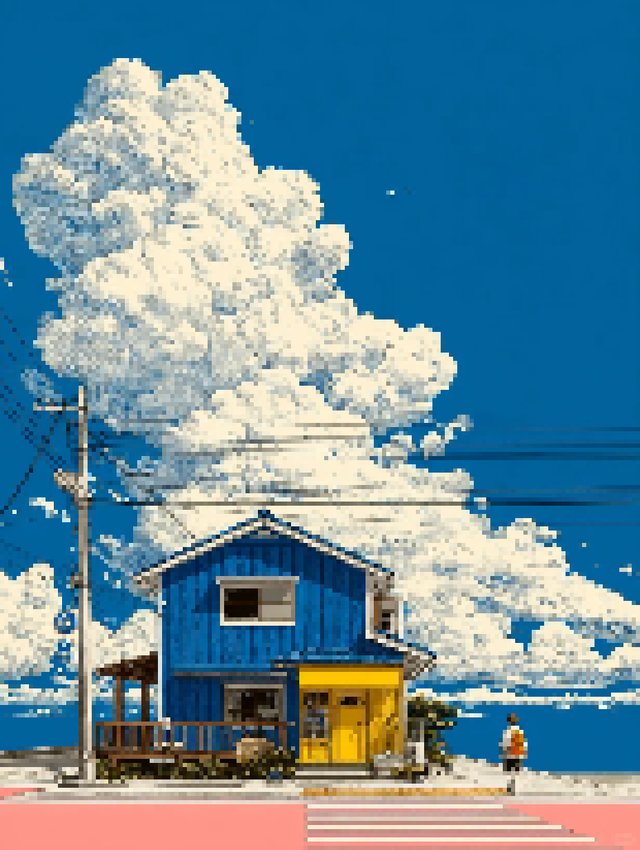
Illustrator artwork often looks crisp in the editor, then turns soft after export because the raster settings were chosen for smooth graphics instead of pixel-friendly shapes. A cleaner PNG export gives you a much better starting point before you move into palette reduction and pixel cleanup.
If you want to finish the image in the browser after export, open the Image to Pixel Art Converter. If you are starting from a photo instead of vector artwork, the simpler walkthrough is How to Pixelate an Image.
Before you export from Illustrator
- Turn on Pixel Preview when you need to inspect edge clarity.
- Clean up unnecessary tiny details that will disappear after downscaling.
- Decide the rough target size before you export so you are not guessing later.
Step 1: Export a clean PNG from Illustrator
- Use PNG when you want to preserve transparency and keep the artwork easy to test in a converter.
- Keep the file large enough that the main shapes stay readable before pixelation.
- Avoid export settings that soften edges if your goal is a crisp retro result.
Step 2: Watch anti-aliasing and scale
- If thin edges look fuzzy after export, re-check the anti-aliasing choice.
- A clean large export is usually safer than exporting tiny art too early.
- Downscale in controlled steps instead of trying to hit the final tiny size on the first export.
Step 3: Finish the look in a converter
- Upload the PNG to the converter and set the rough pixel size first.
- Use palette limits, contrast, and dithering only after the composition reads clearly.
- Compare the export with the Illustrator source to see whether any shapes disappeared.
Example workflow
Export a clean transparent PNG from Illustrator, open it in the converter, then test two or three size options before touching the palette. Once the silhouette reads well, cap the colors and do a final cleanup pass.
Common mistakes
- Exporting too small and trying to sharpen the result later.
- Keeping anti-aliasing on when you actually want harder edges.
- Making palette decisions before confirming that the exported silhouette still works.
FAQ
What export format is easiest to work with after Illustrator?
PNG is usually the easiest starting point because it preserves transparency and stays predictable in most browser-based converters.
Why does my Illustrator export look soft after pixelation?
The source may already be softened before conversion, or the file may have been exported too small. Start with a cleaner, larger raster export.
Should I finish all styling in Illustrator first?
Finish the composition first, but leave room for the pixel conversion stage. Palette reduction and final cleanup are often easier after export than inside the vector file.
Finish the export in the converter
When your PNG is ready, load it into the Image to Pixel Art Converter to dial in size, palette, and cleanup before the final export.
Related Articles
How to Pixelate an Image Online: Beginner Step-by-Step Guide
Learn how to pixelate an image online with a beginner-friendly workflow for choosing pixel size, reducing colors, and exporting a cleaner final result.
How Many Pixels Do You Need for a 4x6 Photo or Banner?
Use simple pixel targets for 4x6 photo prints, web banners, and large-format banners without guessing your export size.